How to Prep and Install an Unfinished Screen Door

The humble screen door is an old-fashioned piece of technology that continues to offer benefits to modern homeowners. In today’s search for low-energy ways to cool or ventilate a home, many people overlook the value of a screen door. It transforms a door into a massive window for air exchange purposes. Much like a storm window, this kind of secondary door can also offer some protection to the primary exterior door from wind and rain. Unfinished screen doors are highly affordable but require a little extra work before they can be used. Make sure you’re ready for installation with these tips.
Measure the Door Opening Correctly

Wood screen doors are easily cut down to fit the opening available. However, they work best when all dimensions are close to the door opening or slightly larger. Doors that are too small in any dimension will leave gaps that are hard to close by filling in the frame since it could interfere with the operation of the existing exterior door.
Take three measurements across the width of the door frame at the top, middle, and bottom. Use the average of these three numbers to get a door with the best possible fit. Then measure from the floor up to the center of the top of the door frame for the height. Subtract ¼ of an inch from these measurements for clearance. That will give you the rough measurements for the screen door.
Prepare the Unfinished Wood

The most affordable and easily customized screen doors are made from unfinished wood. This means that after the door is cut to size but before it is installed, it must be painted or stained. Without some kind of coating to seal the wood and protect it, moisture and sun exposure will cause the door to become warped and eventually split. Unfinished wood is easily decorated any way you like with only minimal sanding and preparation. Sanding with both 150 and 220 grit sandpaper is recommended if staining is selected. Most unfinished screen doors are easily painted right from the store, as long as you apply an appropriate primer as the first coat.
Check for Flaws or Damage

While screen doors are checked at the factory before they’re shipped, there is always a chance that damage will occur on the way to your home. Look over the screen door carefully to detect any spots where the wood has been scratched or scuffed. Check over the screen, in particular, to see if it has pulled out from the frame anywhere. This is easy enough to fix with a small tool designed for this purpose. Scratches and chips in the wood frame can be fixed with wood filler that accepts stain and paint.
Choose a Finish for the Door

Staining offers the most natural look, allowing the wood grain to show through the color you add. While natural colors mimicking expensive cherry or mahogany wood are the most popular, almost any color can be found as a stain to apply to a screen door. However, stain only colors the wood and doesn’t protect it. You’ll need to seal the door with marine spar varnish in at least two separate coats before installing it.
For paint, using an exterior oil-based paint or water-based enamel is good enough to protect the door and decorate it at the same time. Apply at least two coats and one coat of an appropriate primer. The primer must match the paint you plan to apply, so choose the paint first. Sand rough spots like knots on the door before painting for a smoother finish.
Install the Door

Once the door is painted or stained and has a chance to fully dry, it’s time for installation. First, measure the opening of the door again and cut the door as needed. Choose a direction for the door to open and attach the handle to match. Then lift the screen door into the opening with care, optimally with a helper or two to keep the screen from getting damaged in the process. Use a set of shims to check the fit in the door and cut as needed until it has an even 1/8th of an inch gap all the way around. Sand the door down anywhere it’s a little too tight to fit a shim. Then take the door down and attach the hinges. Finally, stand the door up in the frame and have someone hold it still as you screw the hinges in place. Shim the bottom of the door to ensure the right gap for smooth clearance. Test the swing and adjust the hinges as needed until it fits perfectly. A sweep at the bottom can help close up extra gaps that could allow too much air or dust through.
Putting in a screen door gives your home classic style, allows for better ventilation in the warm months, and protects your front door from the elements. Installation is easy enough to handle on your own if you have at least one family member or neighbor to help.
While do-it-yourself projects can be fun and fulfilling, there is always a potential for personal injury or property damage. We strongly suggest that any project beyond your abilities be left to licensed professionals such as electricians, plumbers, and carpenters. Any action you take upon the information on this website is strictly at your own risk, and we assume no responsibility or liability for the contents of this article.
Related Articles

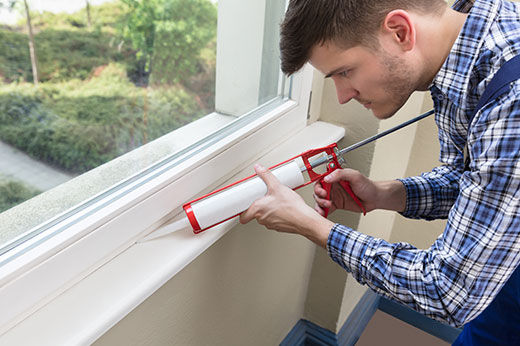
5 Tips to Caulk Like a Pro
Learn how to get the perfect bead of caulk for a professional-looking finish!
Learn more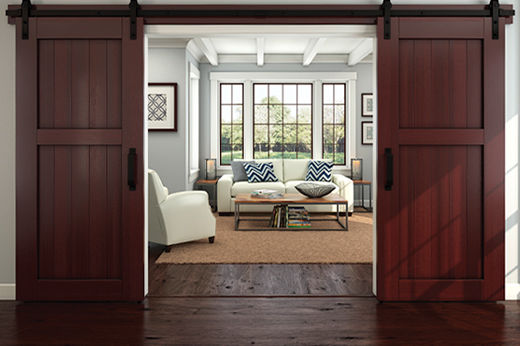
How to Install a Barn Door
Here's a simple, cost-effective way to give your home a brand-new look
Learn more
5 Things to Do Before a House Appraisal
If you're new to the home appraisal process, it can be a bit daunting. Today, we'll explore what a home appraisal is, how to prepare for a house appraisal, and give you five must-dos to help the appraiser see your home at its best!
Learn more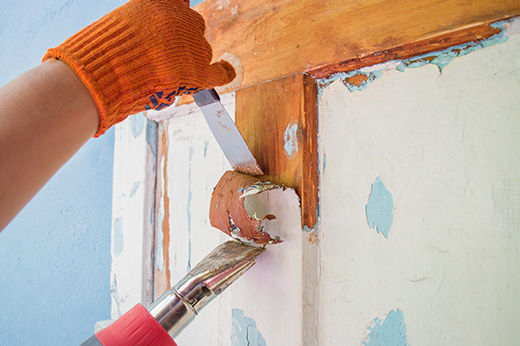
5 Ways to Remove Paint from Wood Surfaces
Looking to clean up old painted wood for a refinish or stain? With Do it Best, discover the top five best methods for easily stripping paint from wood!
Learn more